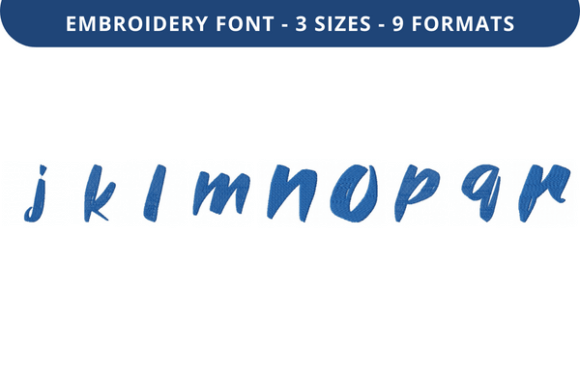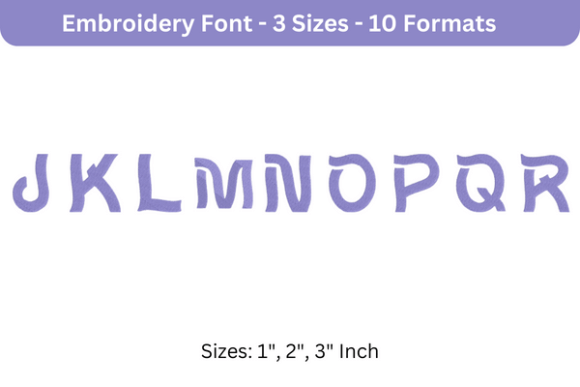
Wavie Font J to R: A Precision Embroidery Font for Personalized Fabric Projects
Wavie Font J to R is a high-quality, machine-embroidery-specific font designed for clarity, consistency, and stitch integrity across fabric types. Unlike generic TrueType fonts or decorative digitized scripts, this set is purpose-built for embroidery machines—meaning each letter from J through R has been carefully digitized to minimize thread breaks, reduce jump stitches, and maintain legibility at small to medium sizes (8–24 mm height). It fits seamlessly into workflows where personalization matters: monogramming baby blankets, labeling uniforms, adding dates to commemorative quilts, or branding apparel for small-batch retail.
Where Wavie Font J to R Fits in Your Creative or Production Workflow
This font doesn’t exist in isolation—it’s a component in a broader design-to-stitch pipeline. Before you load it into your embroidery software, you’ve likely already selected your fabric, stabilized it appropriately, and chosen thread colors that support readability and durability. Wavie Font J to R enters the process at the digitizing or layout stage: when you’re placing names on tote bags, stitching graduation years onto caps, or integrating short quotes into wall hangings. Its narrow-to-medium character width and balanced kerning make it especially effective for curved surfaces (like sleeves or hats) and tight spaces (such as cuff labels or pocket flaps).
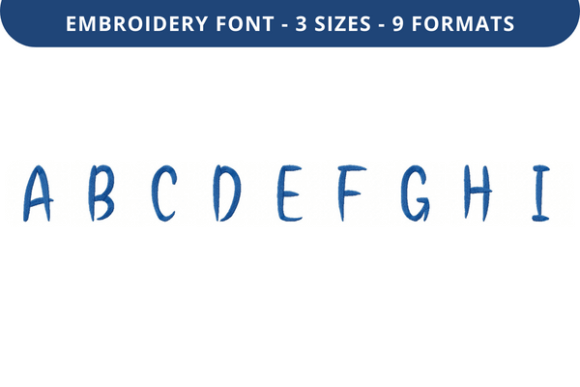
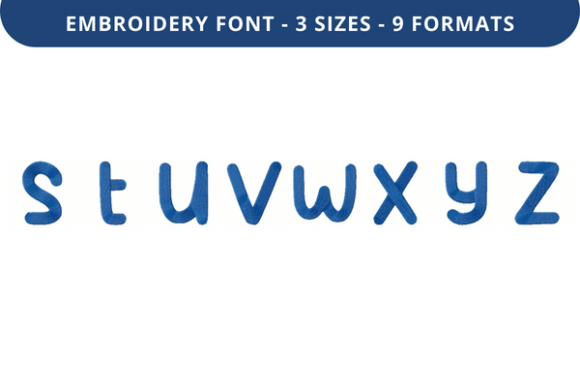
Because it covers only letters J through R, it’s not meant to replace full-alphabet fonts—but rather to complement them. Many users pair it with compatible fonts like Wavie Font A–I and S–Z for full-name embroidery without switching digitizing styles mid-project. That consistency in stitch density, underlay structure, and satin-column behavior helps avoid visible mismatches in texture or sheen across a single line of text.
Compatibility and File Format Flexibility
Wavie Font J to R ships with native embroidery file formats—including PES (Brother/Baby Lock), DST (Tajima standard), EXP (Melco), JEF (Janome), VIP (Viking), and XXX (Bernina). This isn’t just convenience; it’s operational reliability. If your team uses multiple machine brands—or if you outsource stitching to different local shops—you won’t need to re-digitize or convert files manually. Most modern embroidery software (like Wilcom E4, Pulse, or Embrilliance) recognizes these formats natively and preserves spacing, alignment, and stitch order without prompting.
It’s also vector-ready: many versions include SVG and DXF exports for use in digitizing platforms that allow manual editing—ideal if you need to adjust letter height for a specific hoop size or tweak spacing for a non-standard fabric stretch. Just remember: direct edits to stitch data should be done cautiously. Altering stitch count or underlay without understanding tension implications can affect stability on knits or lightweight cottons.
Practical Implementation Tips for Real Projects
Start with stabilization. Wavie Font J to R performs best on medium-weight woven fabrics (like denim, twill, or linen blends) when paired with tear-away or cut-away stabilizer—especially for dense letterforms like “R” or “J”. On knit fabrics, add a light fusible topping to prevent puckering around sharp curves.
When scaling, respect minimum-size thresholds. At under 6 mm height, fine details (e.g., the crossbar in “R”, the loop in “J”) may collapse during stitching. For baby onesies or delicate silk scarves, stick to 10 mm minimum. For large-format items like banners or tote bags, go up to 30 mm—but test first: larger sizes increase stitch count and may require slower machine speeds to avoid thread shredding.
Use consistent hooping pressure. Uneven tension across the hoop causes distortion in letter proportions—most noticeable in symmetrical characters like “O” or “H”. Since Wavie Font J to R relies on precise column widths and uniform satin angles, even slight fabric slippage can widen gaps between letters or skew vertical stems.
Integration With Broader Design and Business Systems
If you manage inventory or customer orders via platforms like Shopify, Square, or QuickBooks, consider how Wavie Font J to R supports customization at scale. You can embed it directly into embroidery modules used by production teams—so when a customer inputs “Jamie – June 2024” at checkout, the system auto-generates a correctly spaced, machine-ready PES file using this font set. No manual copy-paste. No font substitution errors. That kind of integration reduces turnaround time and eliminates one common source of rework.
For educators or workshop leaders teaching embroidery fundamentals, Wavie Font J to R serves as a reliable benchmark for stitch quality assessment. Its predictable underlay, consistent pull compensation, and clean jump stitch placement make it ideal for demonstrating how digitizing choices affect real-world outcomes—like why a poorly stabilized “R” might show skipped stitches along the curve, or why inconsistent thread tension becomes visible in the vertical stroke of “J”.
Organizing and Maintaining Your Font Library
Treat Wavie Font J to R like any mission-critical digital asset: name files clearly (e.g., Wavie_JtoR_PES_v2.1), store them in a dedicated folder synced across devices, and document version history. Updates sometimes include improved satin fill algorithms or reduced stitch counts for energy efficiency—details worth noting if you run high-volume jobs on commercial machines.
Also keep a quick-reference PDF alongside the files: list recommended fabric types, optimal needle sizes (75/11 for wovens, 65/9 for knits), and default thread tension settings (3.5–4.0 for polyester, 3.0–3.5 for rayon). That reference saves time during setup—and ensures new team members apply the font consistently from day one.
Long-Term Use and Quality Control
Quality control starts before stitching begins. Always run a test sew-out on scrap fabric matching your final material—and inspect both sides. Look for: smooth satin edges (no fraying), consistent column width across all letters, and minimal bobbin thread showing through on the front. If the “R” looks thicker than the “N” next to it, revisit your scaling or check whether kerning was accidentally disabled in your software.
Over time, track performance metrics: average thread break frequency per 1,000 stitches, average re-hooping rate per batch, and customer feedback on legibility after washing. These aren’t vanity metrics—they inform decisions about whether to expand your font library, upgrade stabilizers, or adjust machine maintenance schedules.
Finally, recognize when Wavie Font J to R isn’t the right tool. It’s not optimized for large-scale appliqué lettering, metallic thread runs, or ultra-fine sheer fabrics where stitch density must be minimized. In those cases, switch to a lighter-weight script or outline font—and document why. That kind of contextual awareness builds credibility with clients and strengthens your internal workflow discipline.
Getting Started Without Overcomplicating Things
You don’t need to overhaul your entire process to benefit from Wavie Font J to R. Start small: pick one recurring project—say, embroidering employee names on polo shirts—and replace your current font with this one for the next five orders. Note differences in setup time, thread usage, and post-stitch inspection time. Then decide whether to roll it out more broadly.
That approach mirrors how professionals actually adopt new tools: not as abstract upgrades, but as tested improvements to existing steps. Wavie Font J to R earns its place not because it’s flashy, but because it solves quiet, persistent problems—uneven lettering, inconsistent sizing, format conversion delays—without demanding new skills or expensive hardware.
It’s part of a larger commitment to precision: knowing which tool fits which moment, respecting material constraints, and building repeatable systems—not just for today’s order, but for the next hundred.